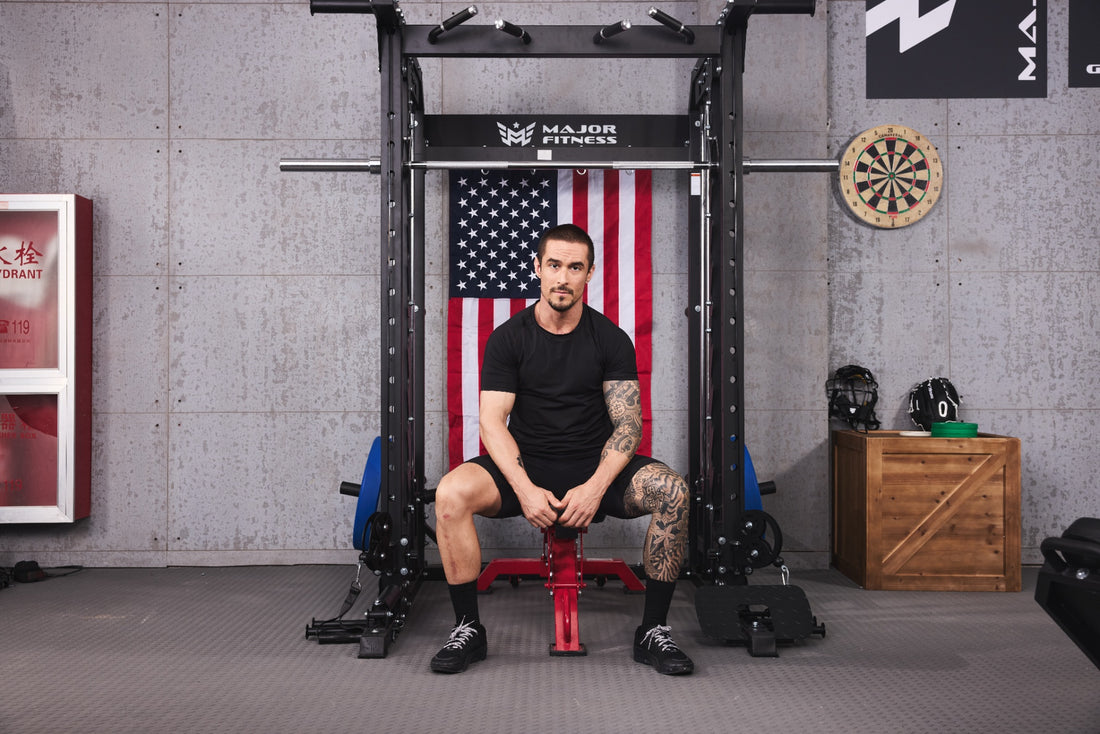
If you're a fitness enthusiast looking to take your home gym to the next level, building a Smith machine might just be the project you're looking for. This versatile piece of equipment can elevate your strength training routine, offering a safe way to perform heavy compound exercises without a spotter. But where do you begin? This comprehensive guide will walk you through the intricacies of constructing your own Smith machine, ensuring that by the end, you'll be ready to embark on this rewarding DIY journey.
Understanding the Smith Machine
Before diving into the construction process, it's crucial to understand what a Smith machine is and why it's a valuable addition to your home gym. Essentially, it's a weight machine used in weight training that consists of a barbell fixed within steel rails, allowing for vertical or near-vertical movement. One of the machine's primary benefits is its safety features, including catch points and a self-spotting mechanism, making it ideal for solo workouts.
Materials and Tools Required
- Steel tubes for the frame and rails
- Linear bearings or guide rods for smooth barbell movement
- A barbell
- Weight plates
- Welding machine and welding helmet
- Metal cutting tools
- Screwdriver set, wrenches, and a hammer
- Drill and drill bits
- Measuring tape and level
Step-by-Step Construction Guide
Step 1: Designing Your Smith Machine
Start by planning out your Smith machine. Consider the space in your home gym and the exercises you wish to perform. Sketch a design, noting the dimensions of the frame, the position of the guide rods or bearings, and the catch mechanism for safety. Ensure your design is sturdy and balanced to withstand heavy use.
Step 2: Cutting and Assembling the Frame
Using your design as a reference, cut the steel tubes to the required lengths for the frame. Begin welding the pieces together, starting with the base and working your way up. Accuracy and stability are key here, so take your time to ensure everything is level and square.
Step 3: Installing the Guide Mechanism
Next, install the linear bearings or guide rods along the vertical posts of the frame. These should be aligned perfectly to ensure smooth barbell movement. Test the mechanism with the barbell to adjust the alignment if necessary.
Step 4: Setting Up the Safety Stops
Incorporate the safety catch points or stops at various heights along the rails. These are critical for preventing the barbell from falling and offering protection during your workouts. Make sure they are easily adjustable to accommodate different exercises and user heights.
Step 5: Adding the Finishing Touches
Finally, attach the barbell and any additional features, such as a pulley system for extra exercises or weight plate storage. Test all the components to ensure they function correctly and safely. Once satisfied, give your new Smith machine a fresh coat of paint if desired, and it's ready for action.
Building a Smith machine from scratch is indeed a labor of love, but the satisfaction and customization it brings to your home gym are unparalleled. By following this guide, you're well on your way to crafting a piece of equipment that not only enhances your strength training regime but also serves as a testament to your dedication to fitness and DIY prowess. Remember, the most important aspects of this project are safety, precision, and patience. With those in mind, you're set to create a Smith machine that rivals any commercial model, tailored perfectly to your training needs.


